This has been tested successfully on the following setup.
- Kasm Workspaces v1.18.1
- Ubuntu 24.04 LTS
You’ll need an old PC, a mini-PC, a cloud VM or an on-premise VM. Here are the specs that I used.
- 4 vCPUs
- 4 GB RAM
- 100 GB SSD
Guides:
To be successful in implementing RBI via Kasm Workspaces, it is beneficial to read these guides.
Why RBI
You probably used Remote Browser Isolation (RBI) solution in your work environment and you might be wondering if you could use it at home for a reasonable fee or free. Or you might be working in a non-profit organisation or SMB/SME and would still like to use RBI to protect your work environment without straining your budget. You might want to consider using Kasm Workspaces. Check out its licensing page for more information.
So, why RBI for home use? For anonymous browsing, you could use the Tor browser installed directly on your laptop/desktop and even smartphones/tablets. But these days, these suspicious/malicious websites may not work well with Tor. Also, there’s always a risk of drive-by downloads. I wanted an ephemeral browser that does not disclose my public IP, does not allow for easy fingerprinting of my identity, does not expose my laptop to malware while exploring these suspicious URLs that I received from my junk emails.
I’m using Kasm Workspaces CE for home usage in this setup. The installation steps are not covered here as they’re well covered in the official documentation. Instead, I’ll be highlighting some of the teething issues I experienced and how they were resolved.
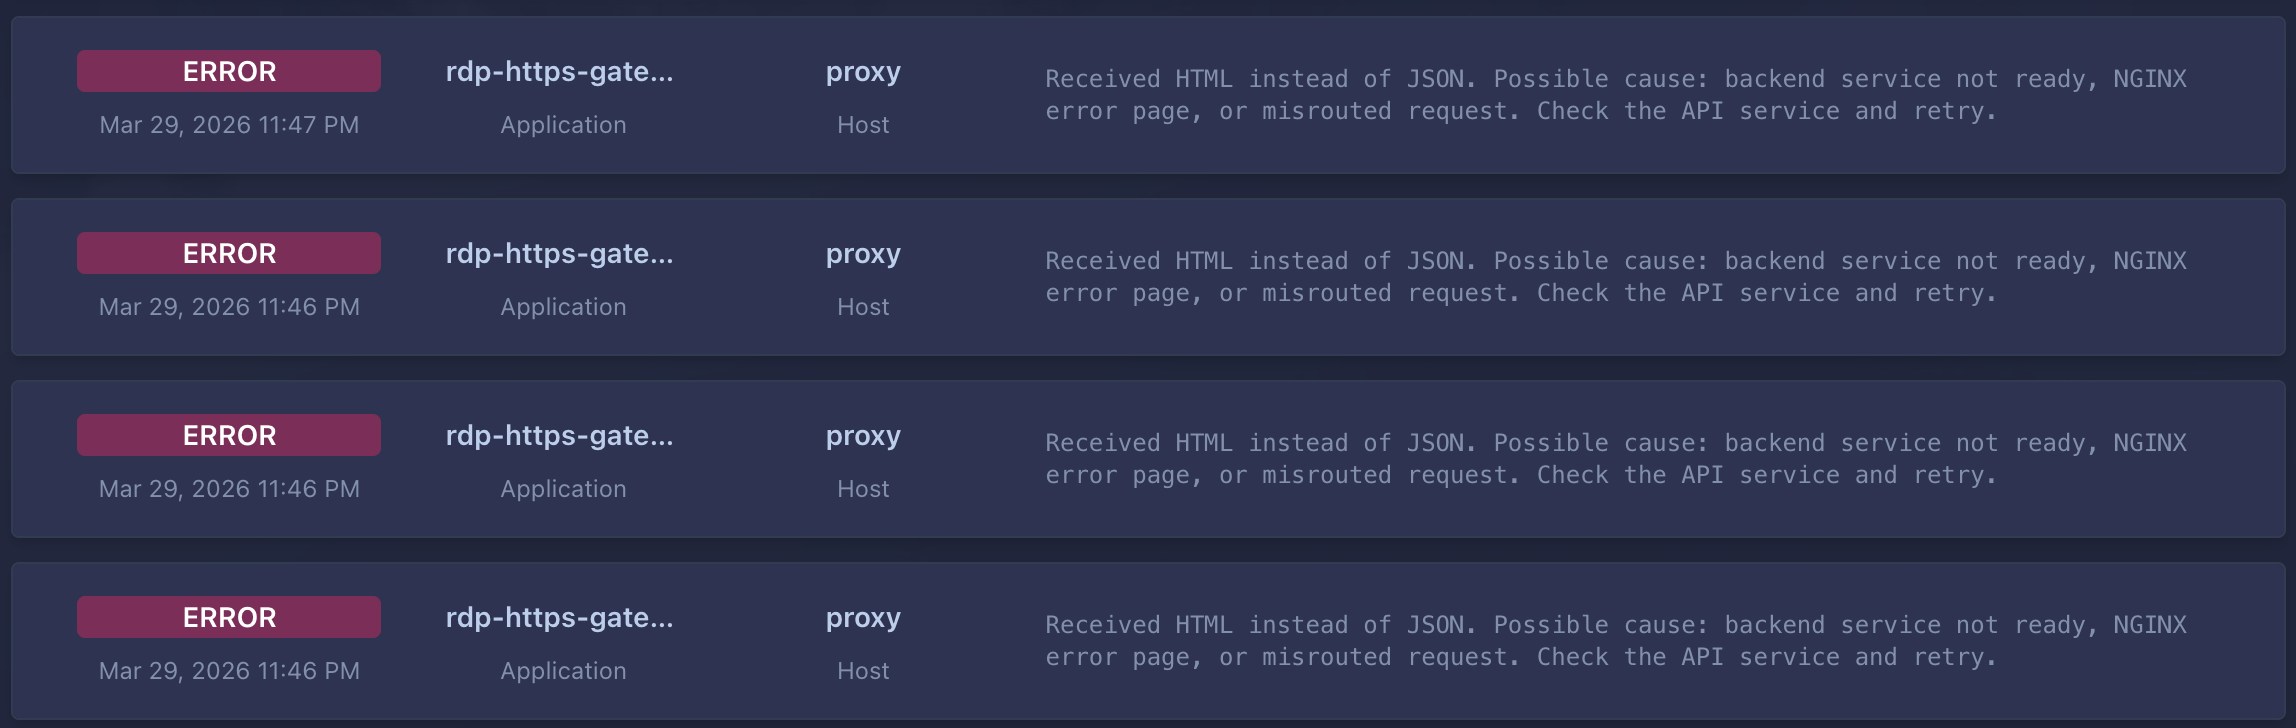
RDP Errors
You might experience RDP connectivity errors on a fresh default installation without doing any custom configurations.
Do these checks at your host VM.
sudo hostnamectl set-hostname kasm01
  <hostname>

sudo nano /etc/hosts
    127.0.0.1   localhost
    127.0.1.1   <hostname>    # change the IP to your actual host IP, e.g., 192.168.13.138
If your hostnames do not much, fix it. And if your
sudo /opt/kasm/bin/restart
Brave Browser Workspace (for RBI)
You are free to select a different browser such as Firefox or Chrome. There’s also the Tor Browser workspace, if your use-case requires it. For added anonymity, you could add a egress provider to the Brave workspaces. I’d selected Proton VPN as its free tier offers download of the OpenVPN and Wireguard config files. If you’ve a paid subscription for Windscribe, the configuration steps are similar. By browsing via VPN, my public IP address is not disclosed to the suspicious web servers.
You could create a ProtonVPN egress provider with multiple egress gateways using OpenVPN. This allows you to select any egress gateway when launching the Brave workspace.
-
Add a new egress provider. Login as admin.
Infrastructure > Egress Providers > [+ Add]. Provide a name, e.g:ProtonVPN, selectOpenVPNand ensureEnabled.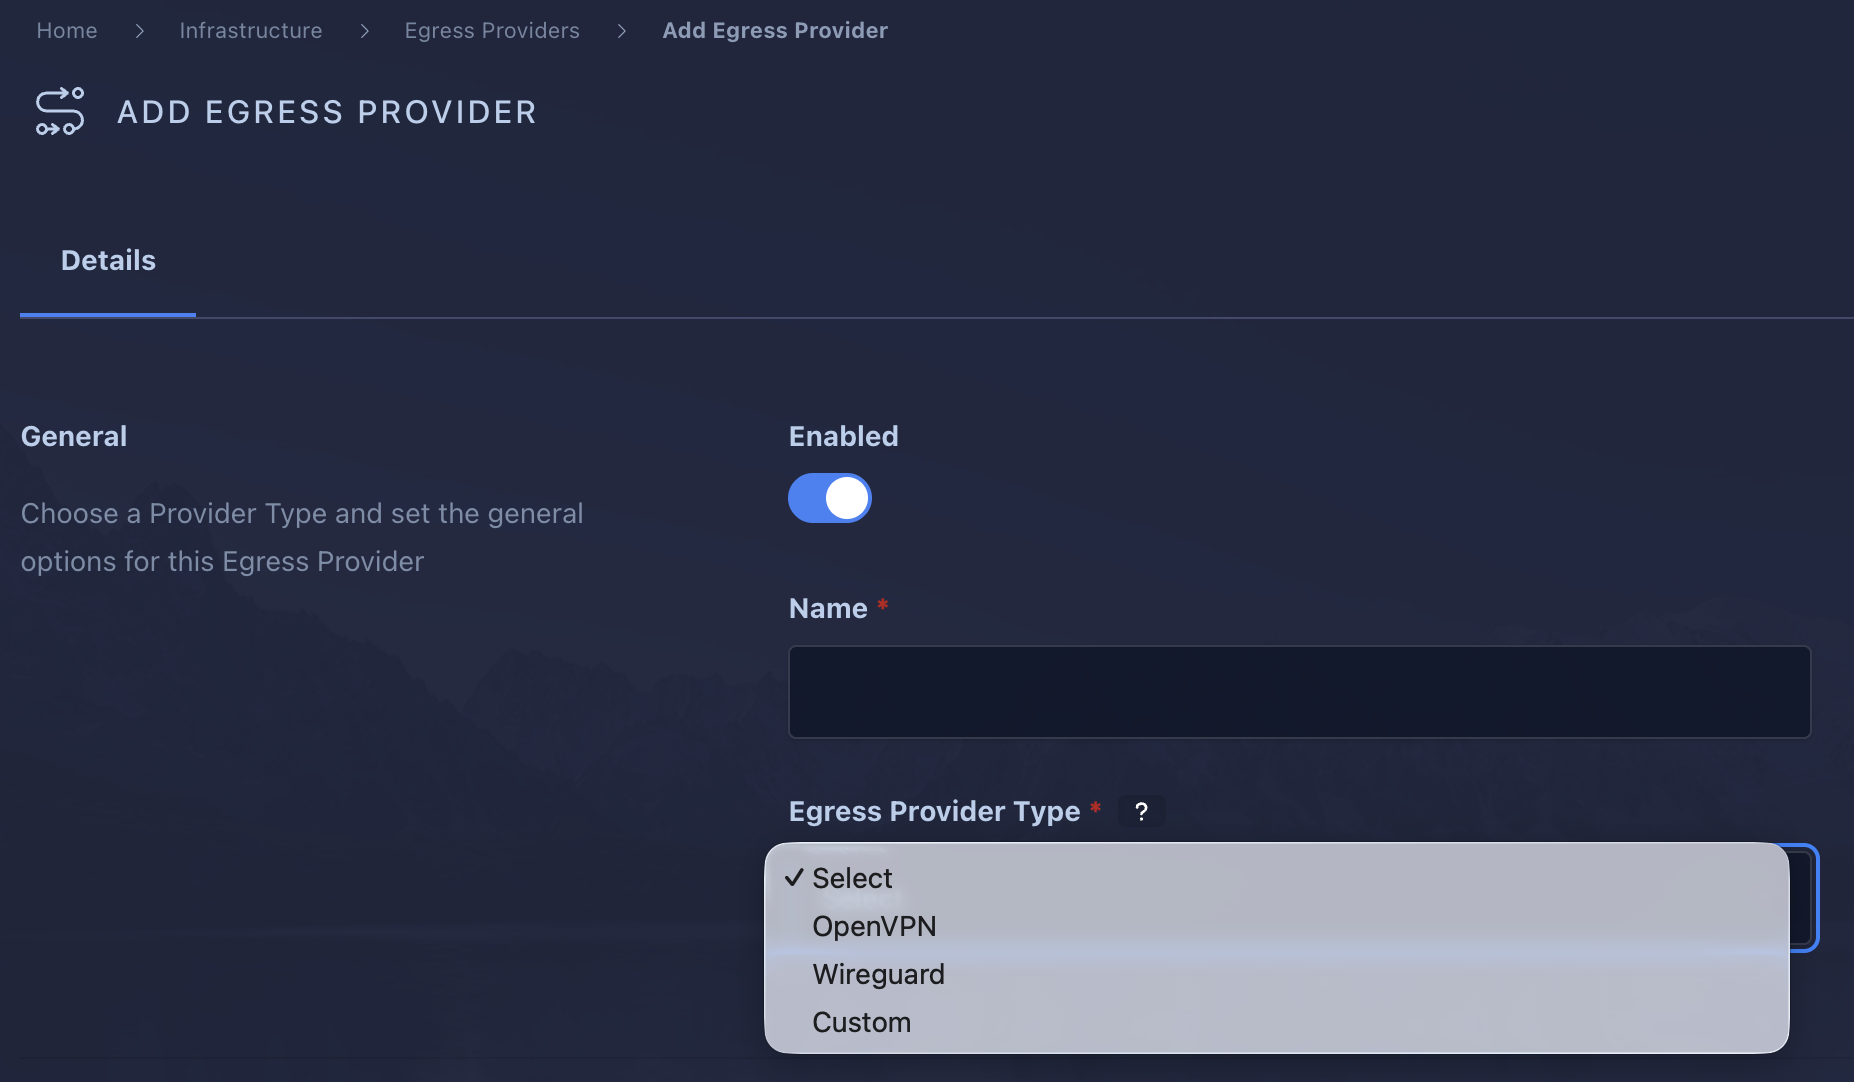
-
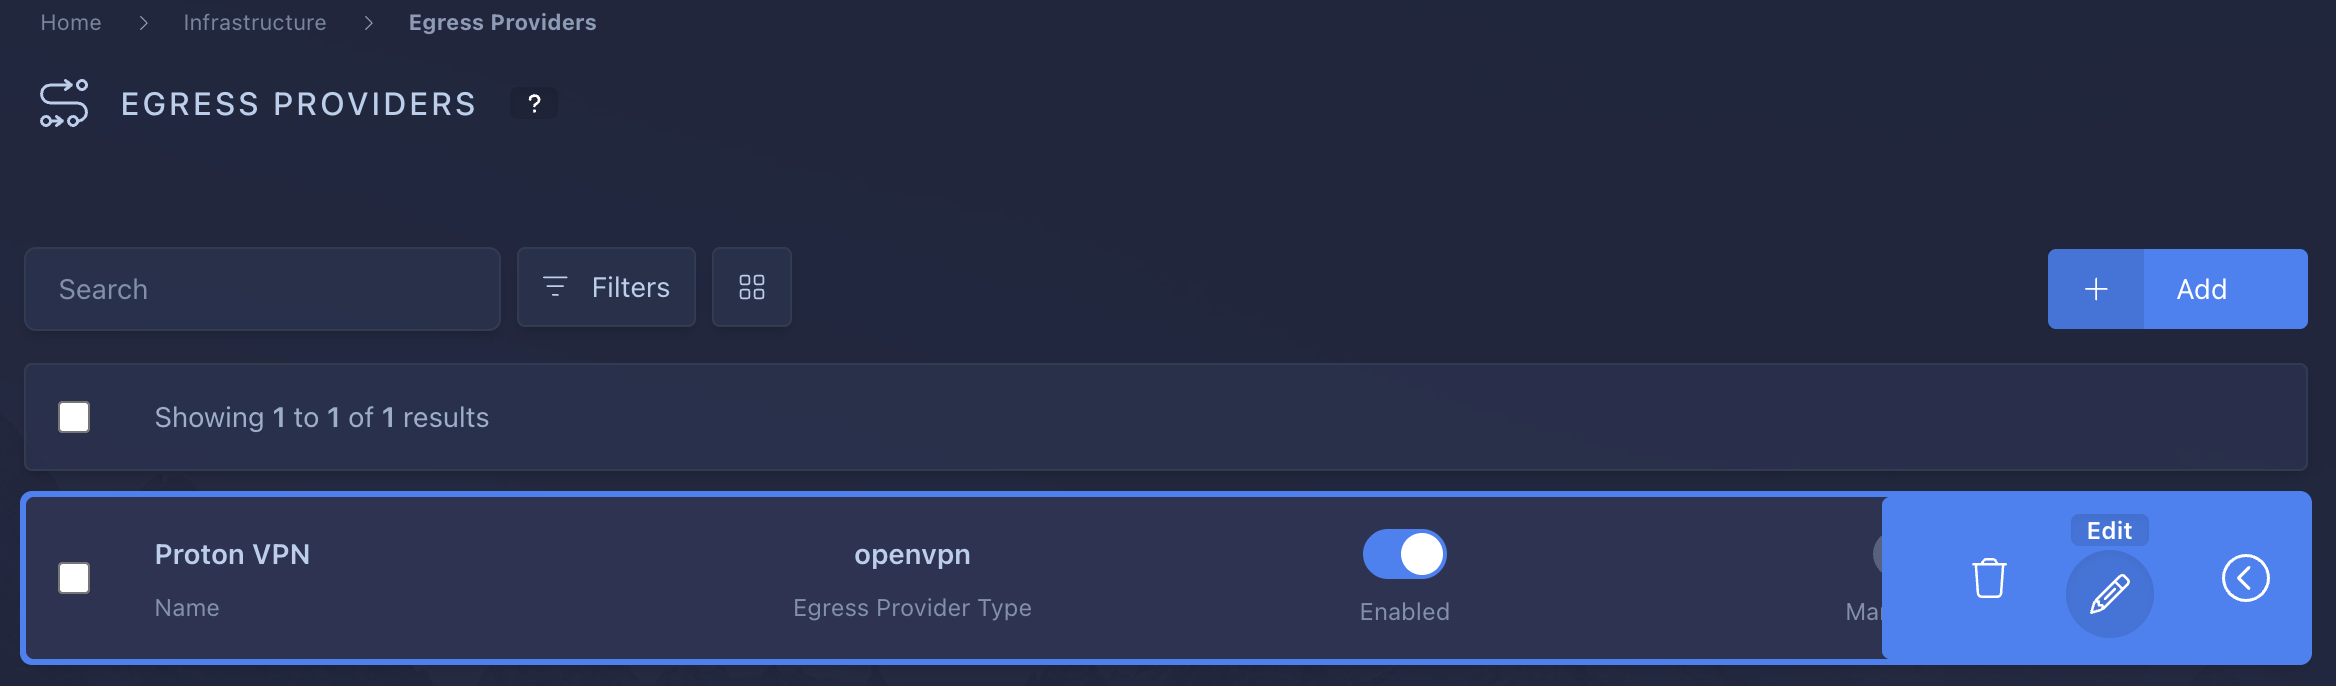
Now that you’ve an egress provider, you could proceed to add multiple egress gateways to it.
You should download your OpenVPN config files from your Proton VPN dashboard, selecting the servers you want/like. Do not paste the entire OpenVPN config file into theconfigurationtext-area. Remove the comments and the 3 lines as shown.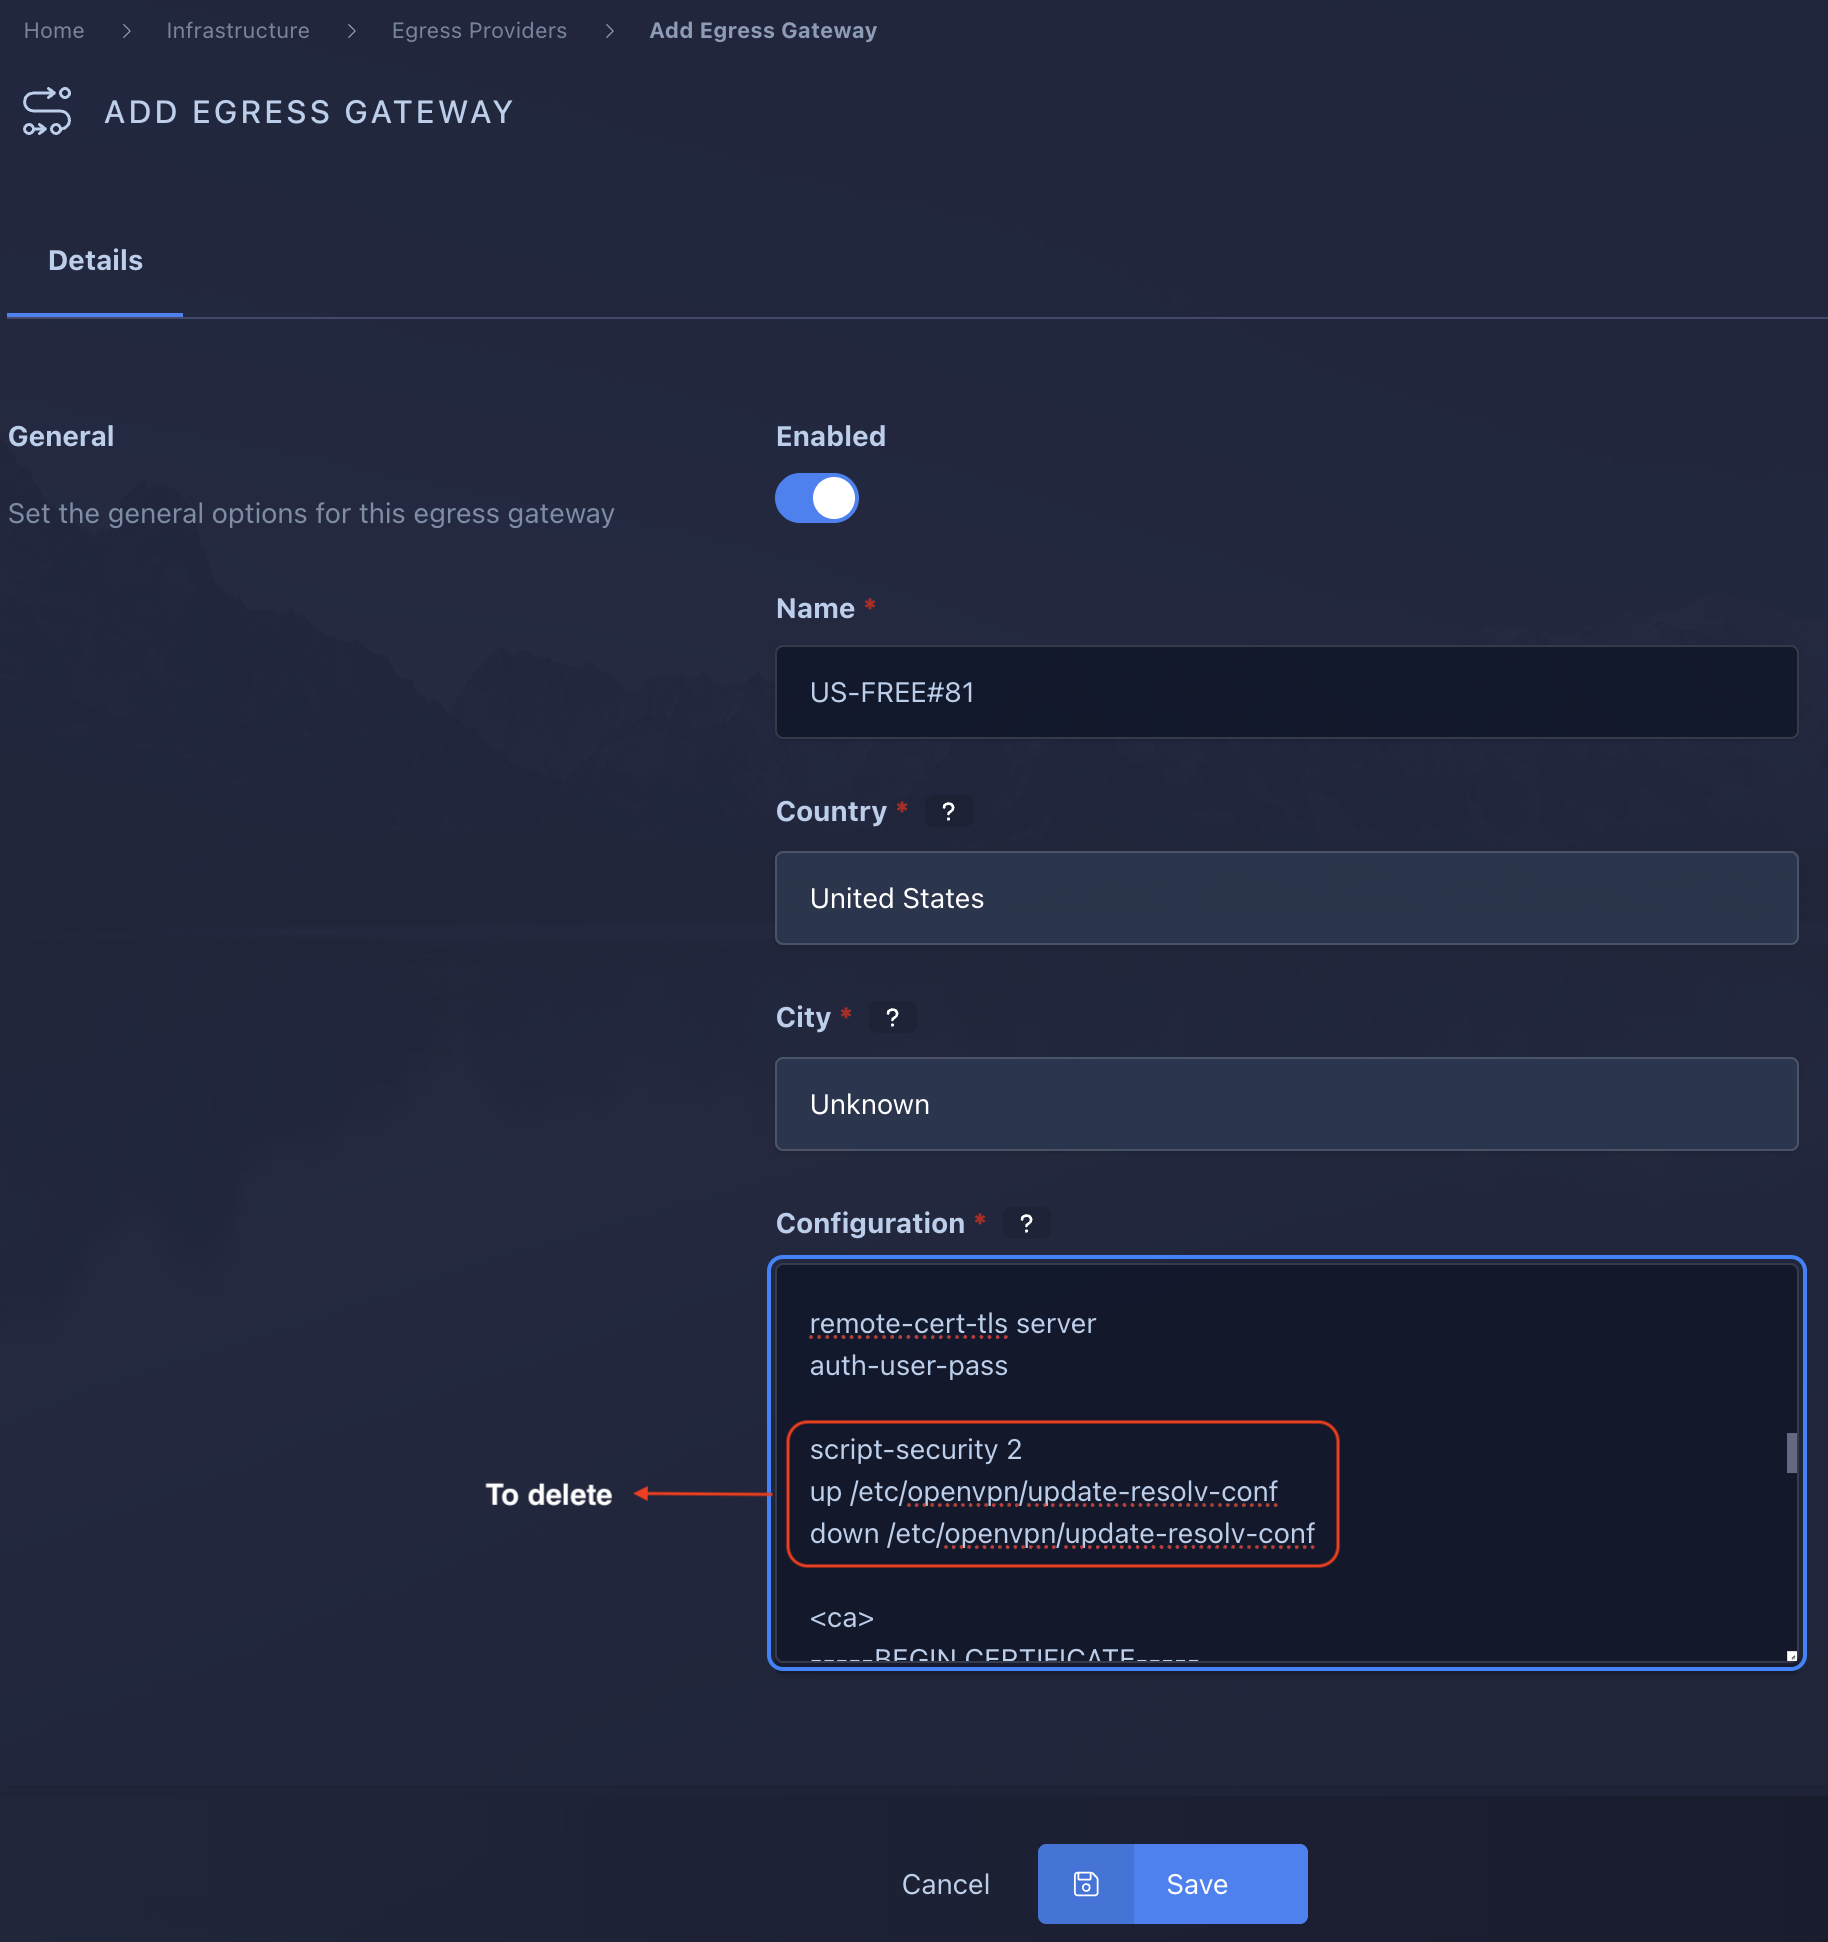
Repeat for as many servers you want/need. This alllows for redundancy.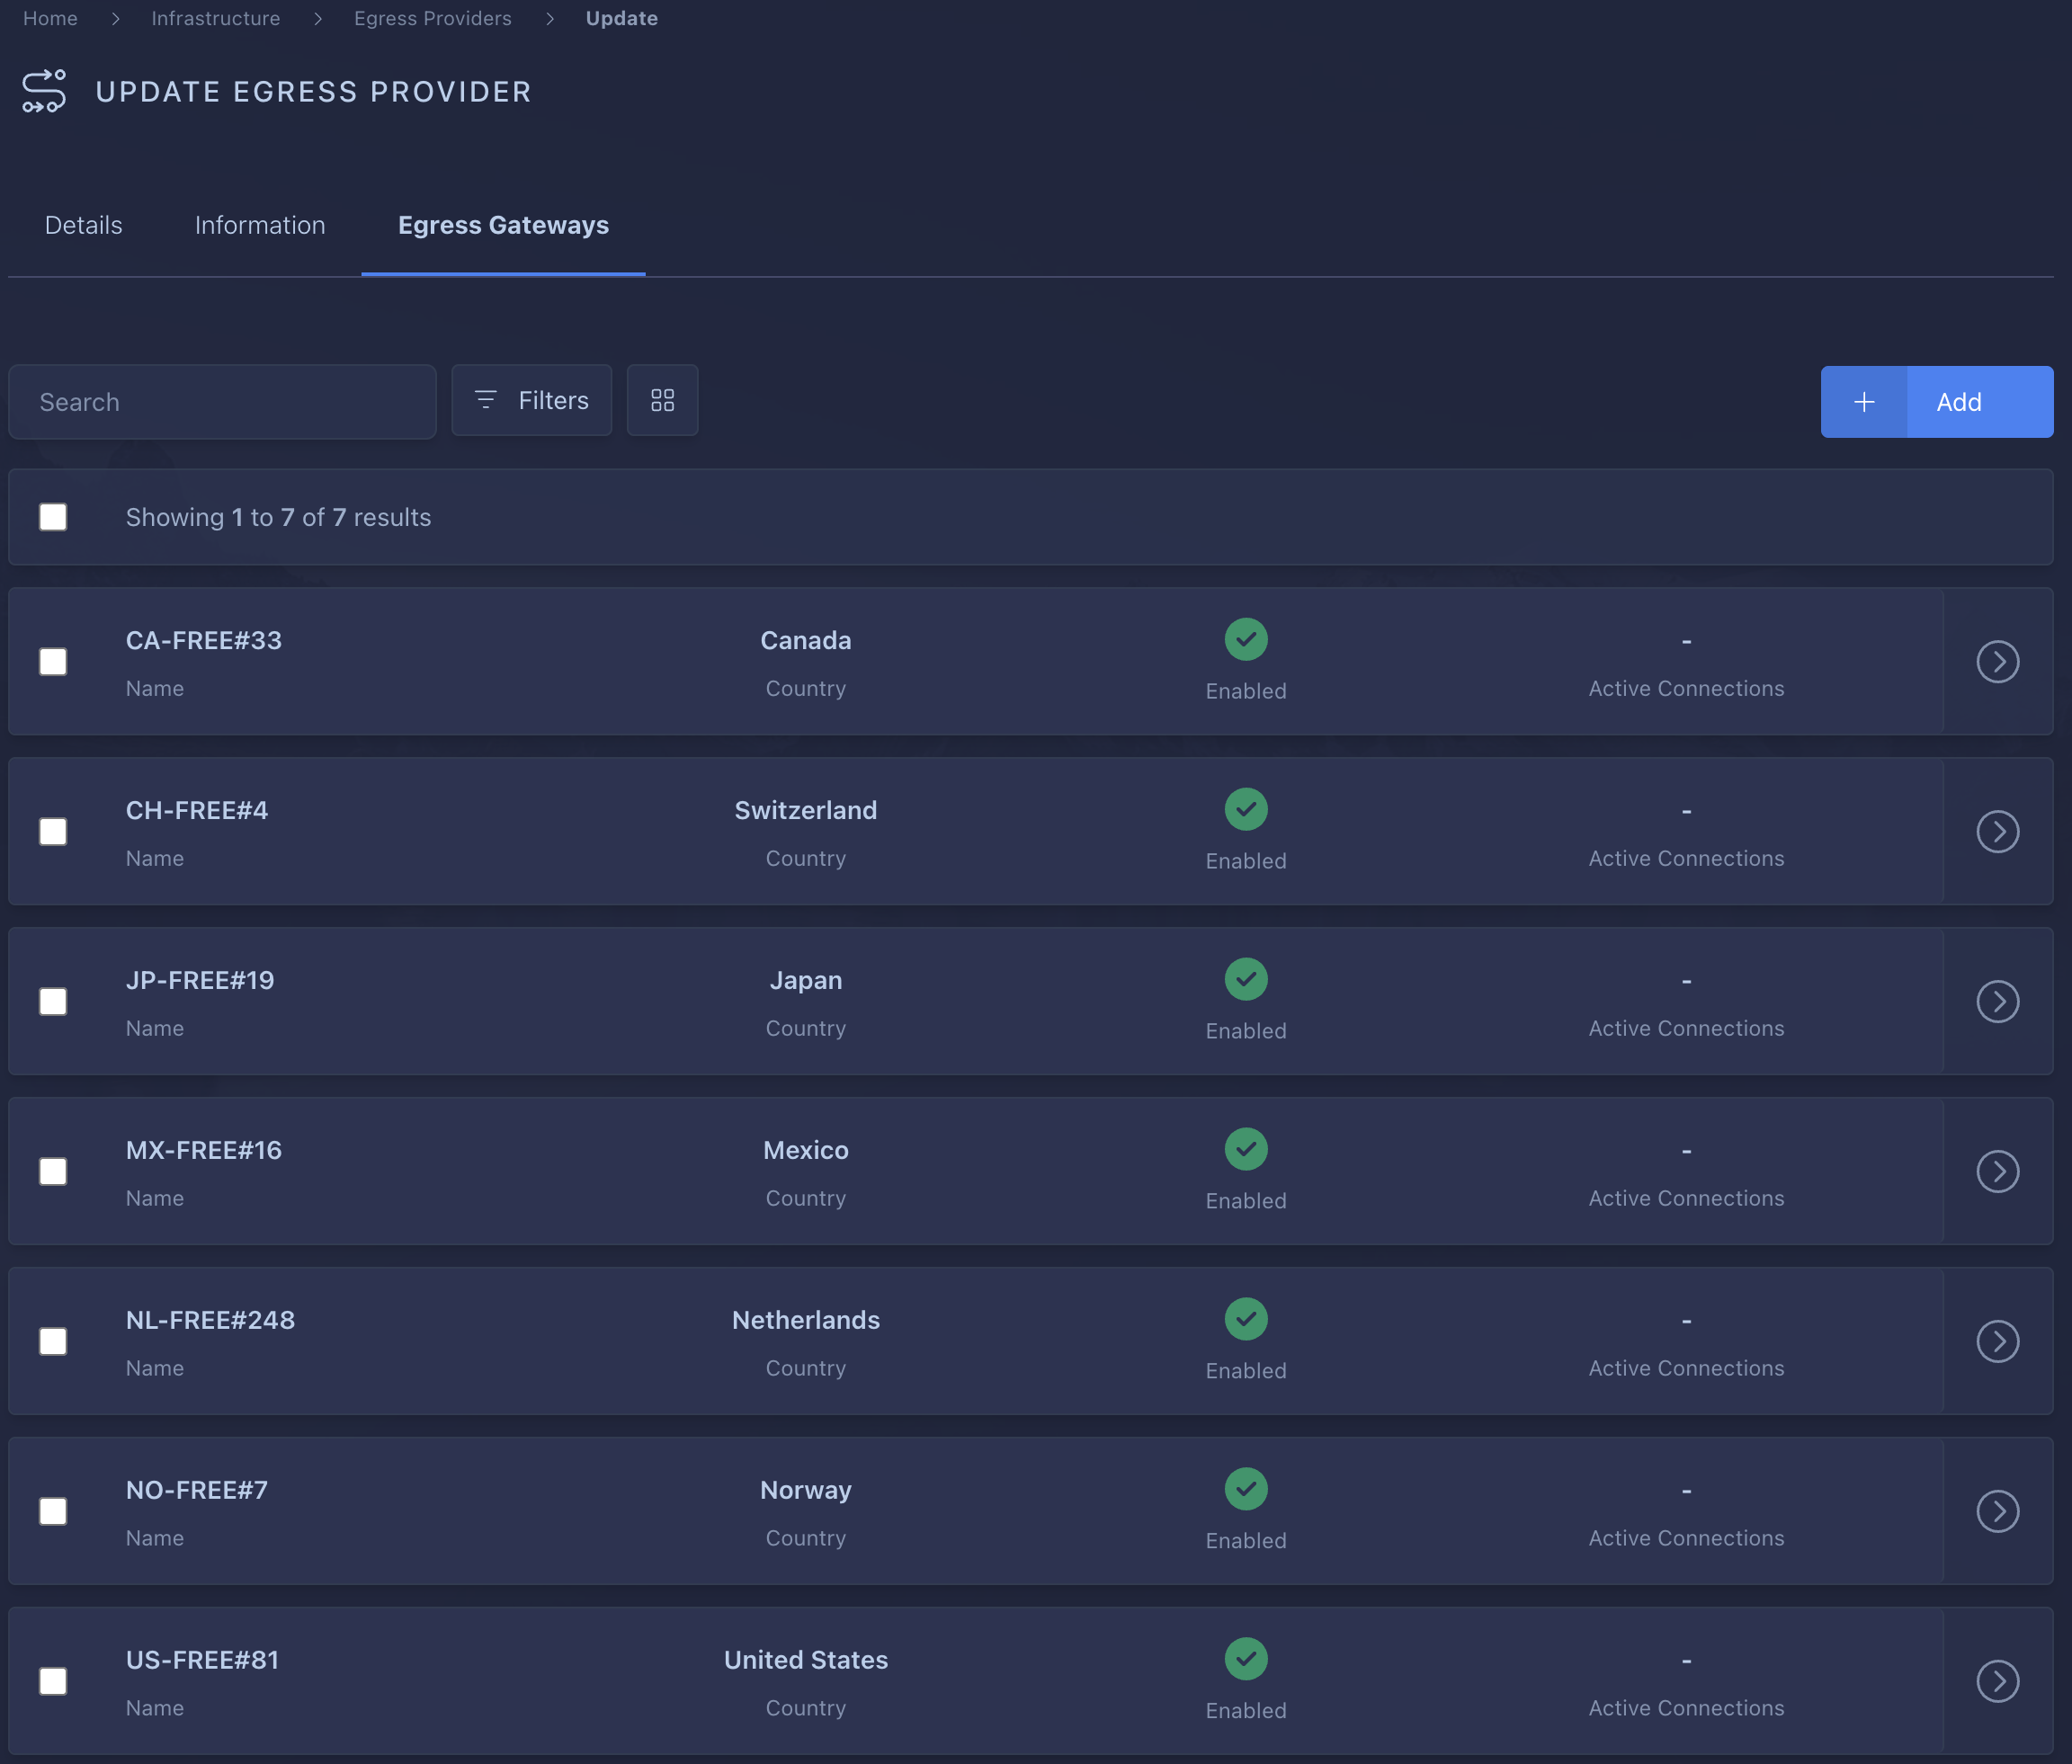
-
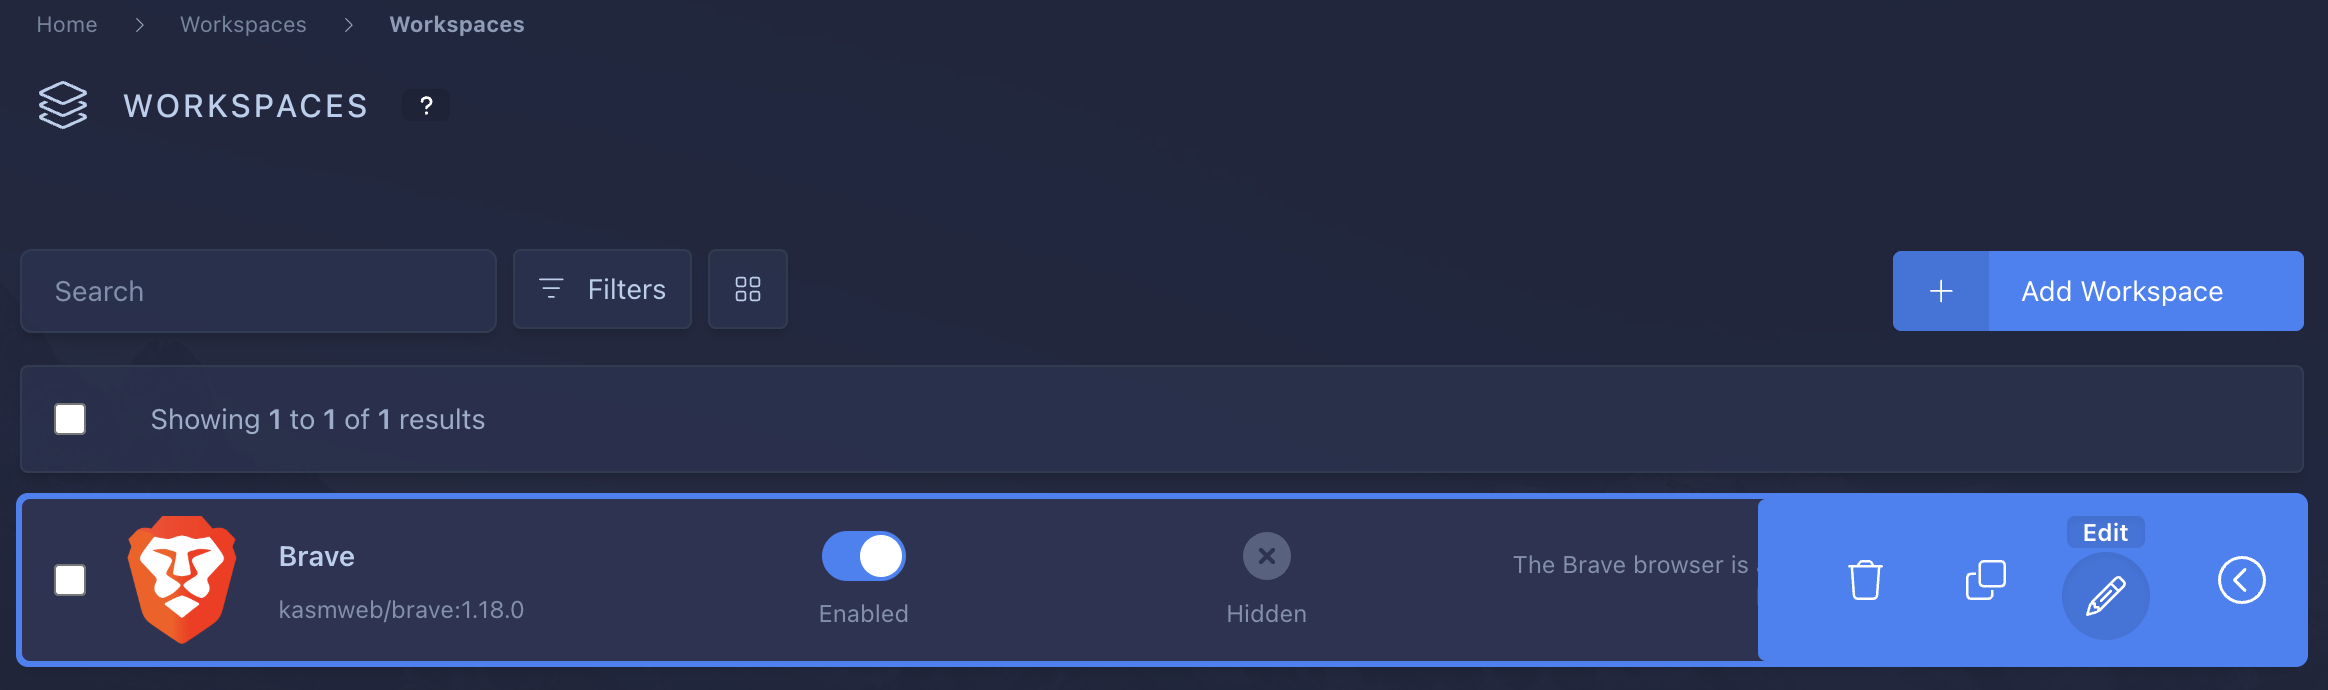
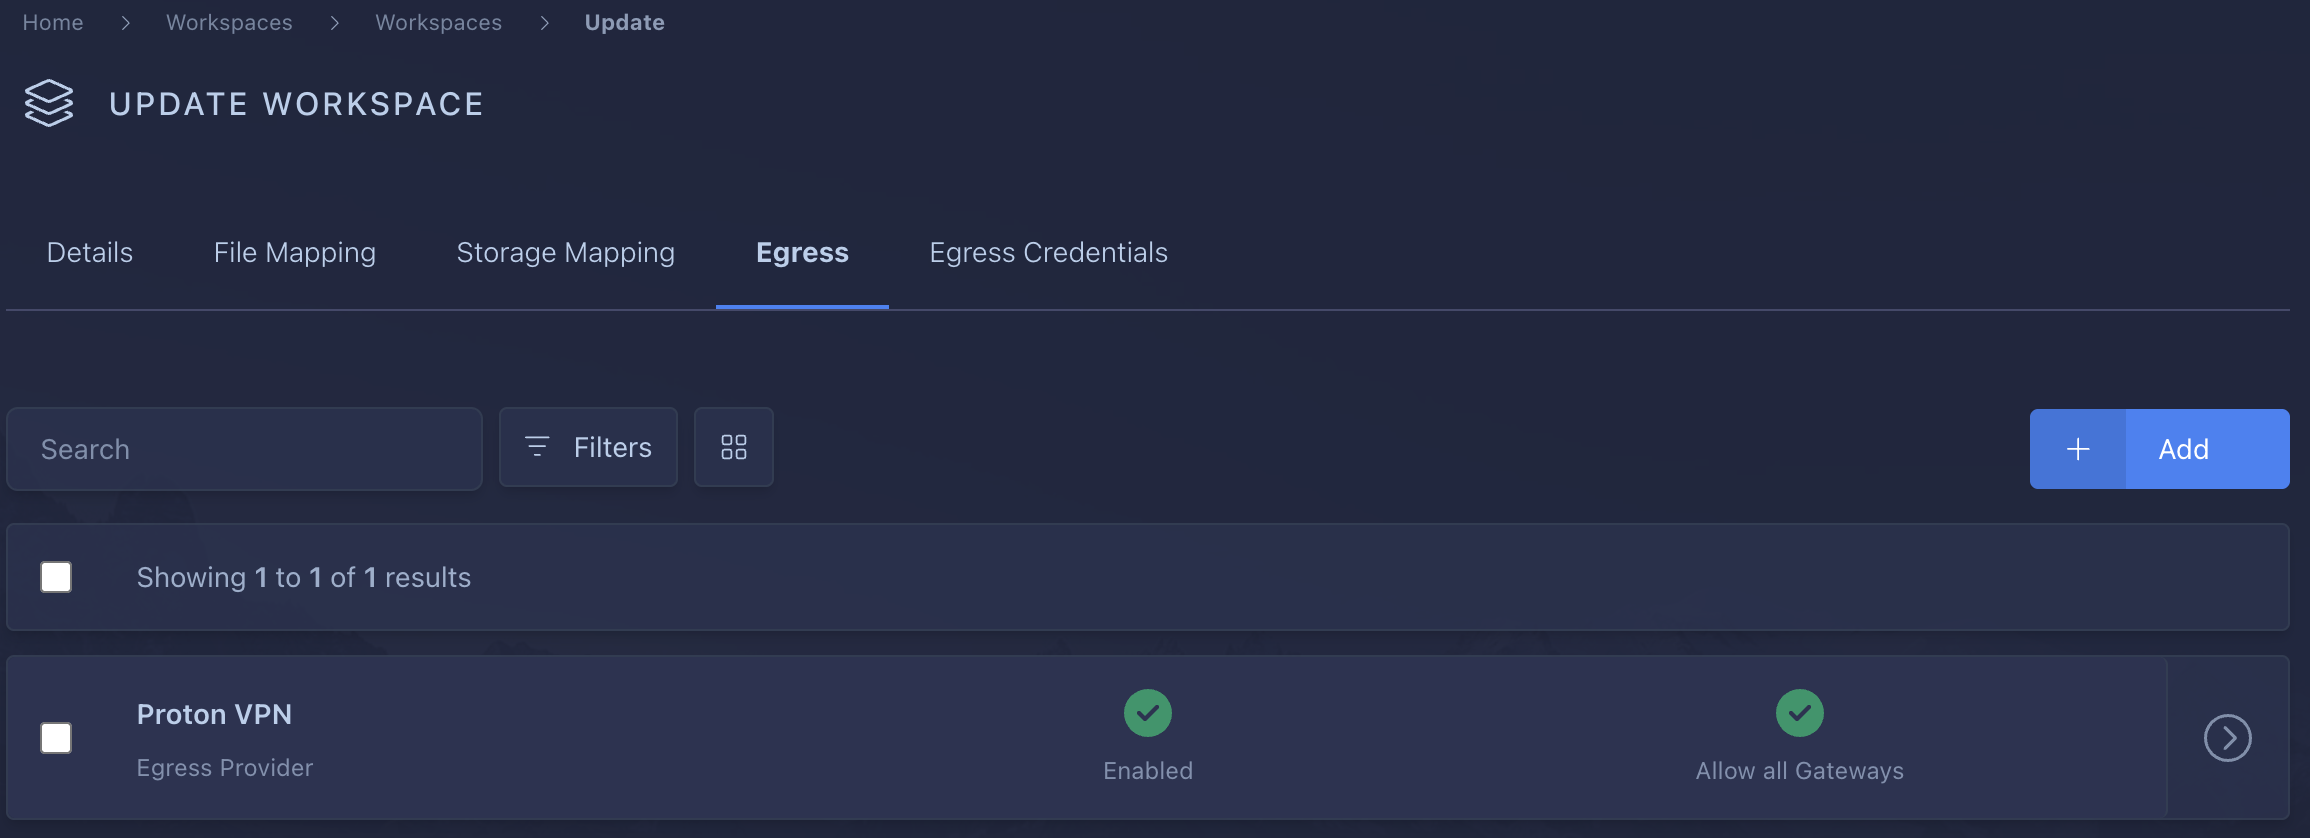
Edit the Brave workspace to add new Egress Provider and Egress Credentials.
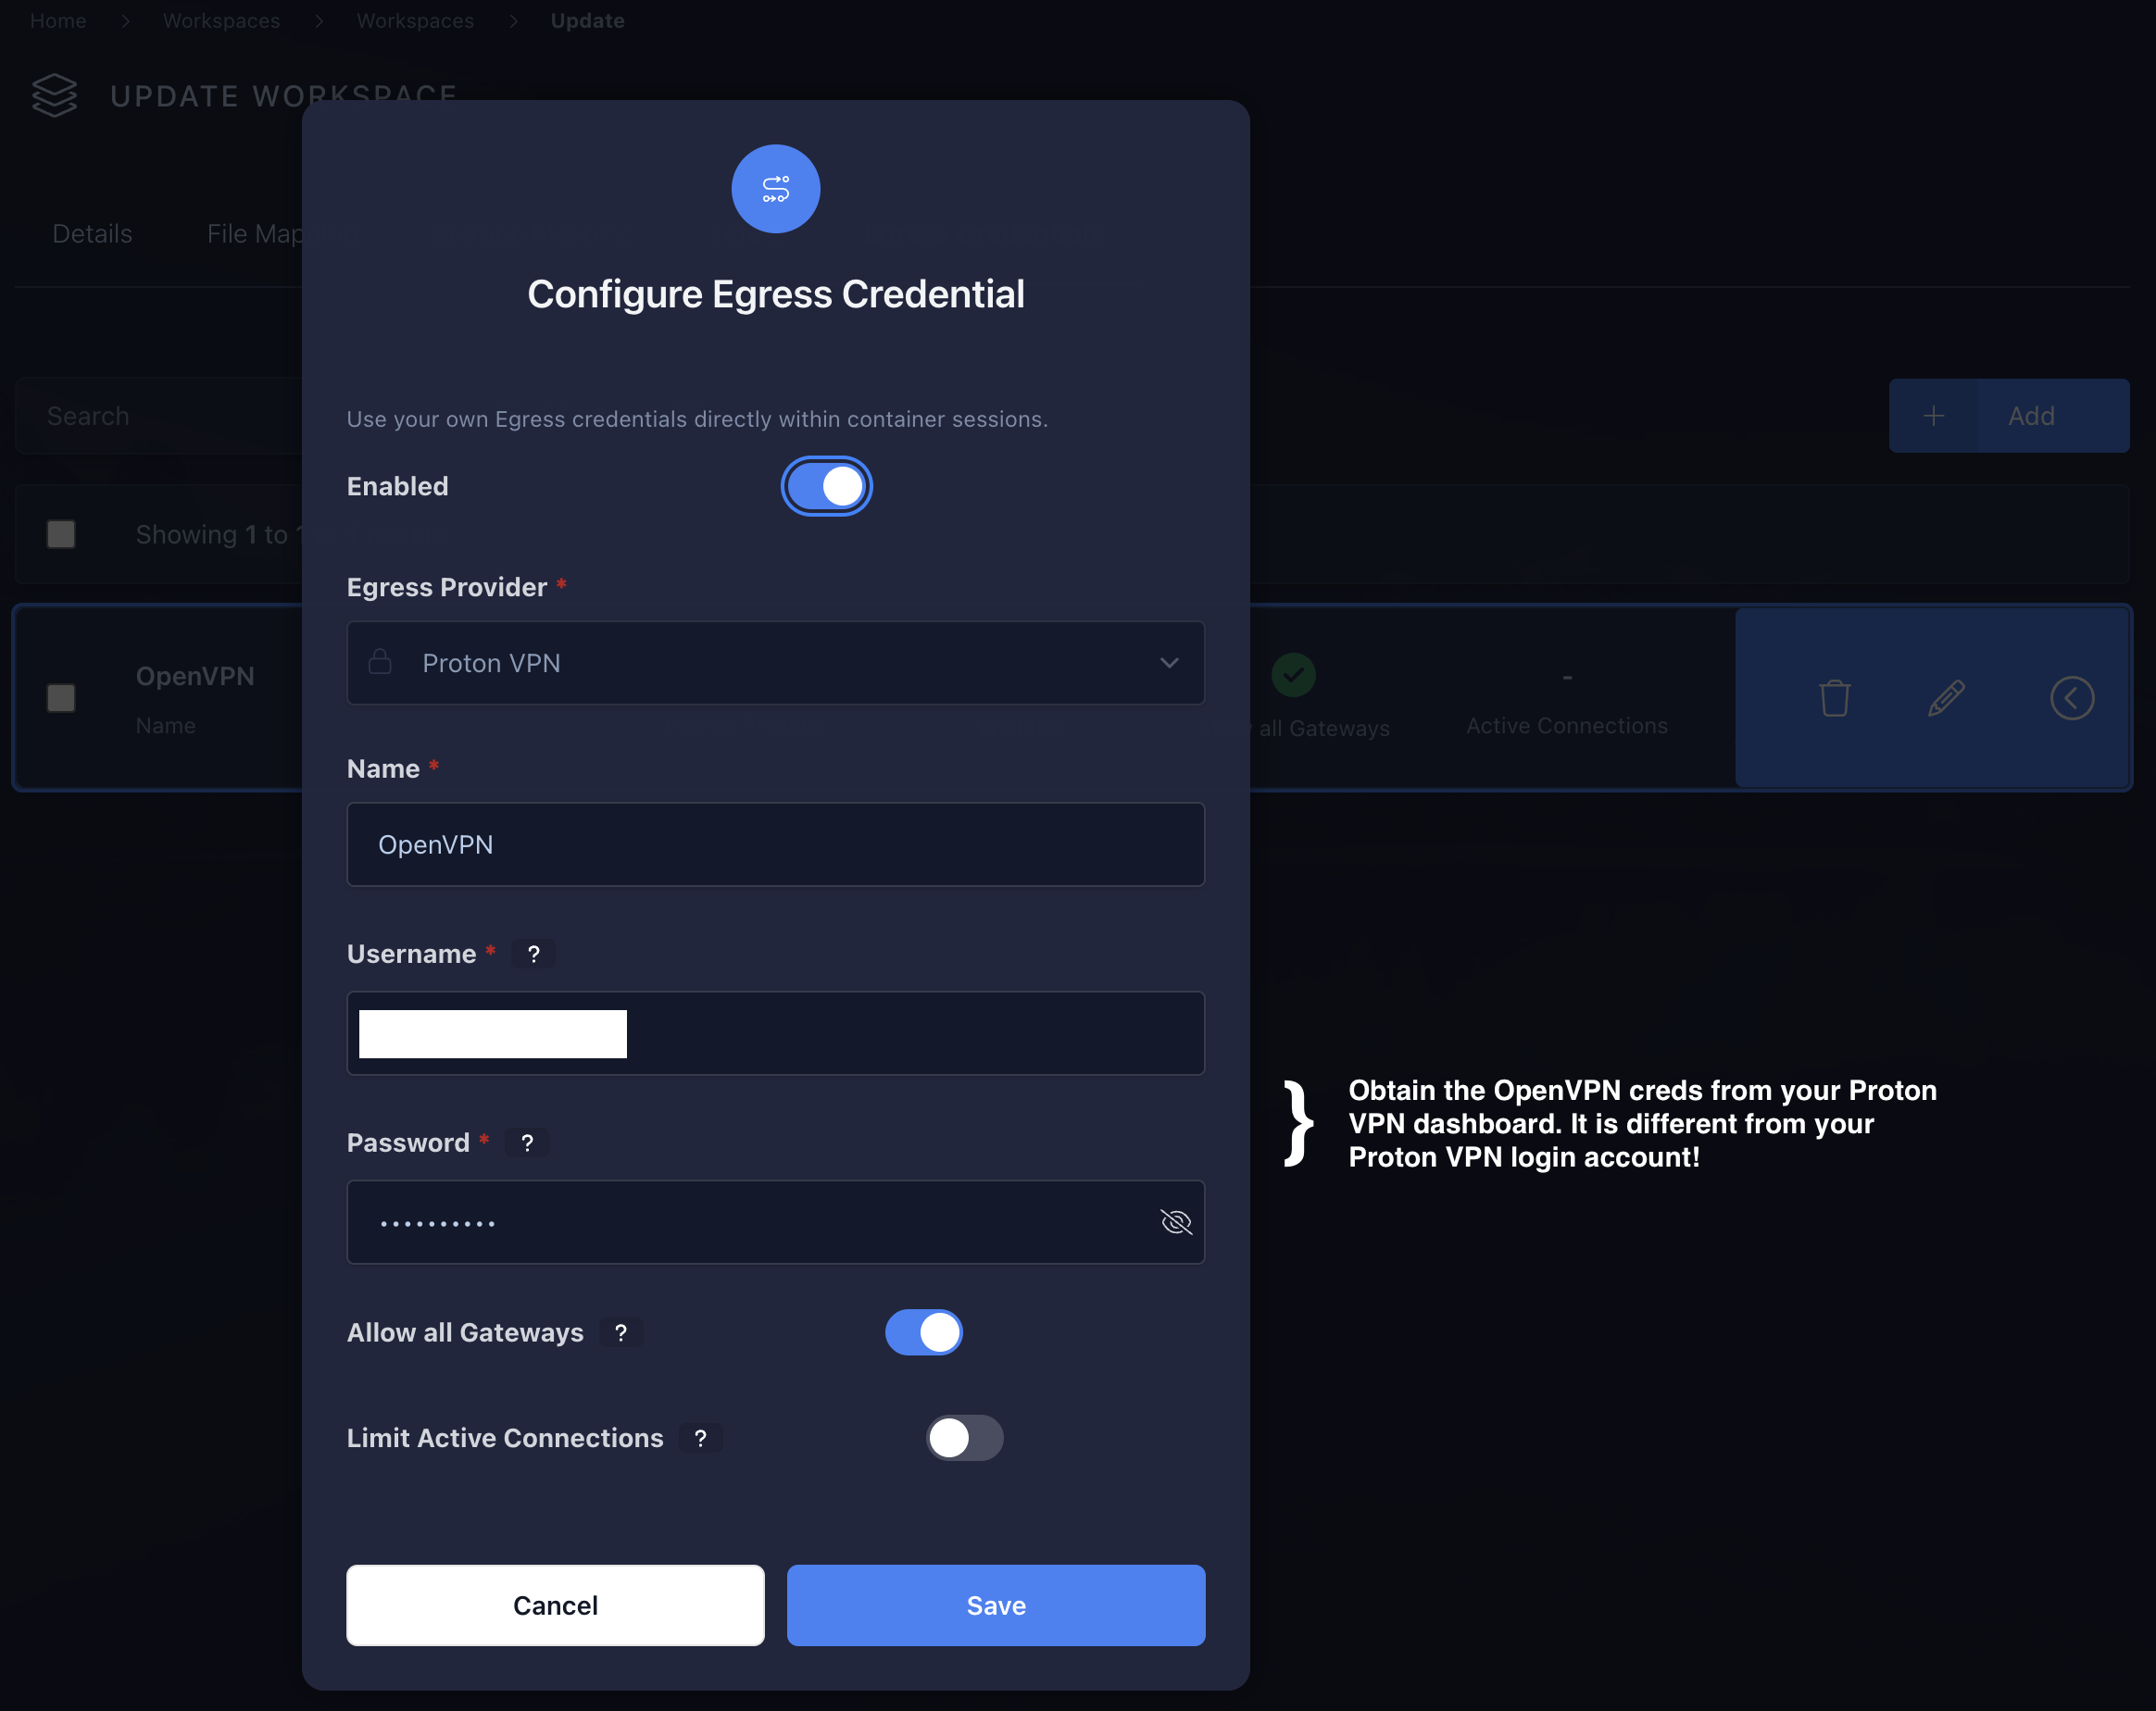
-
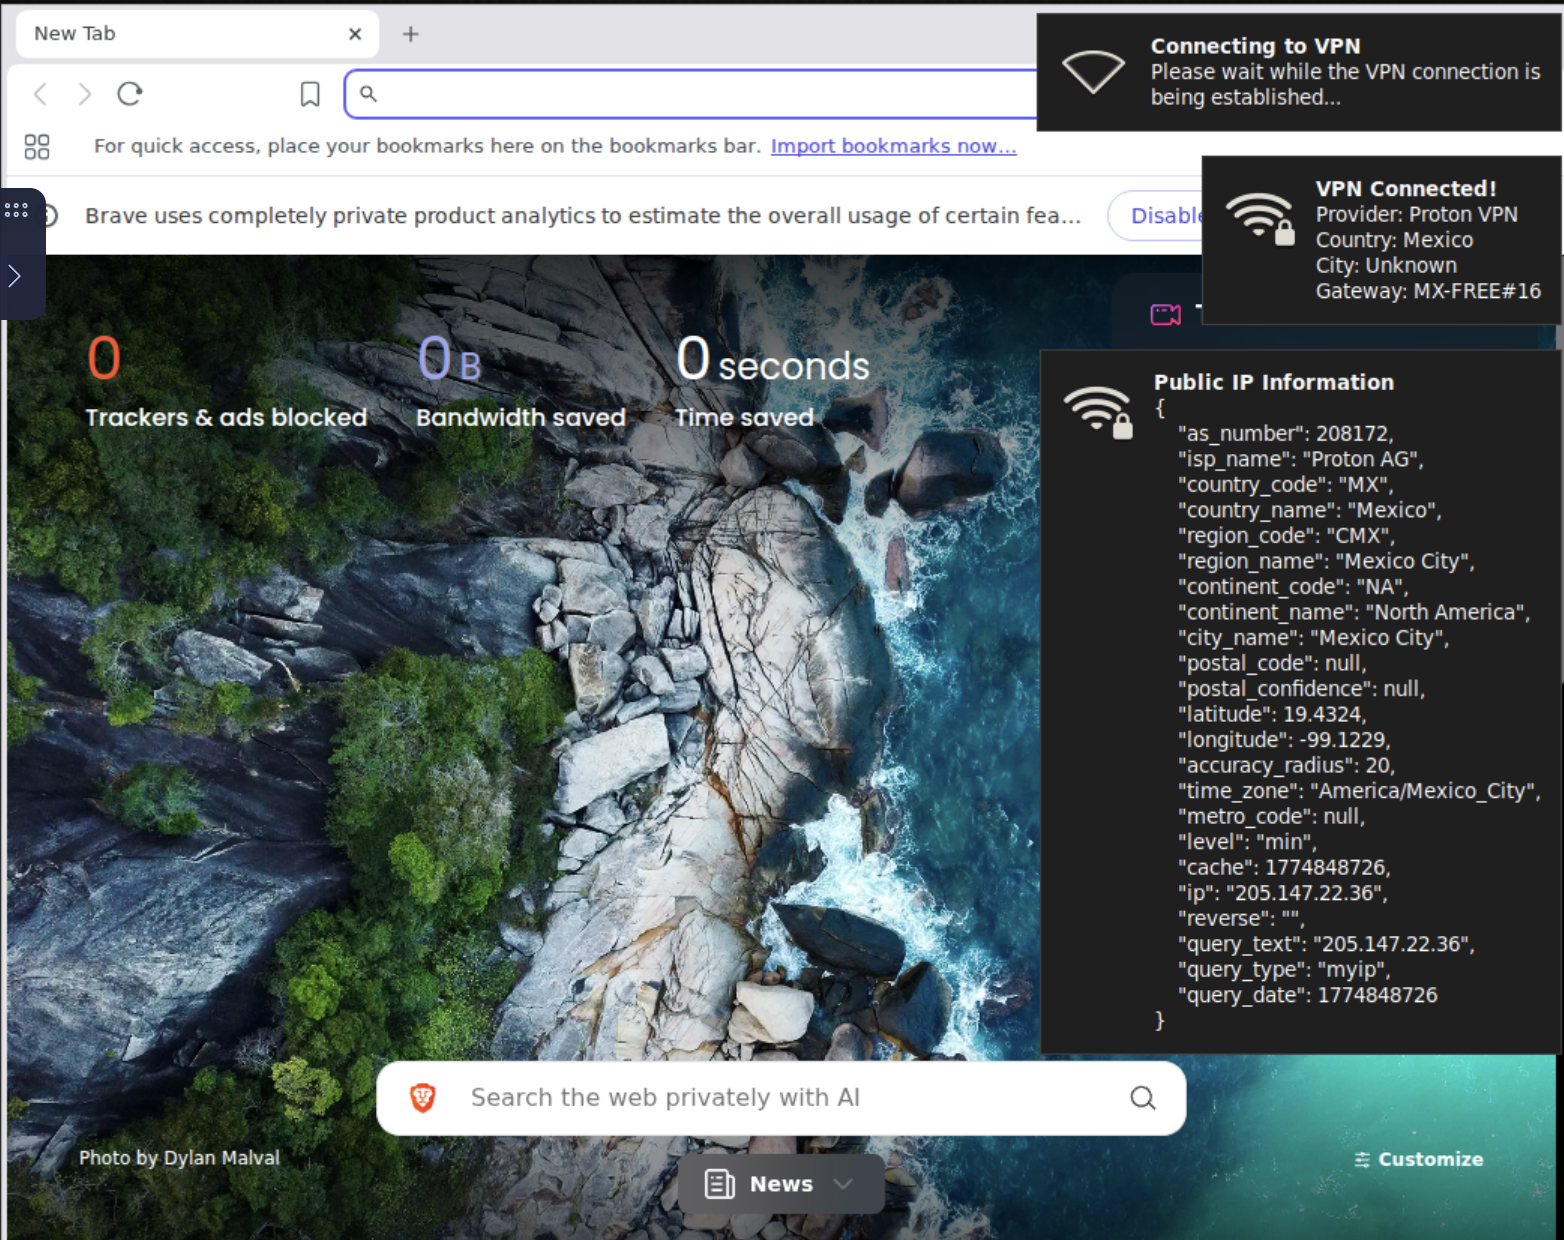
Launch your Brave workspace to validate that it is connected to the VPN. Login with your user account and select the Brave workspace.